
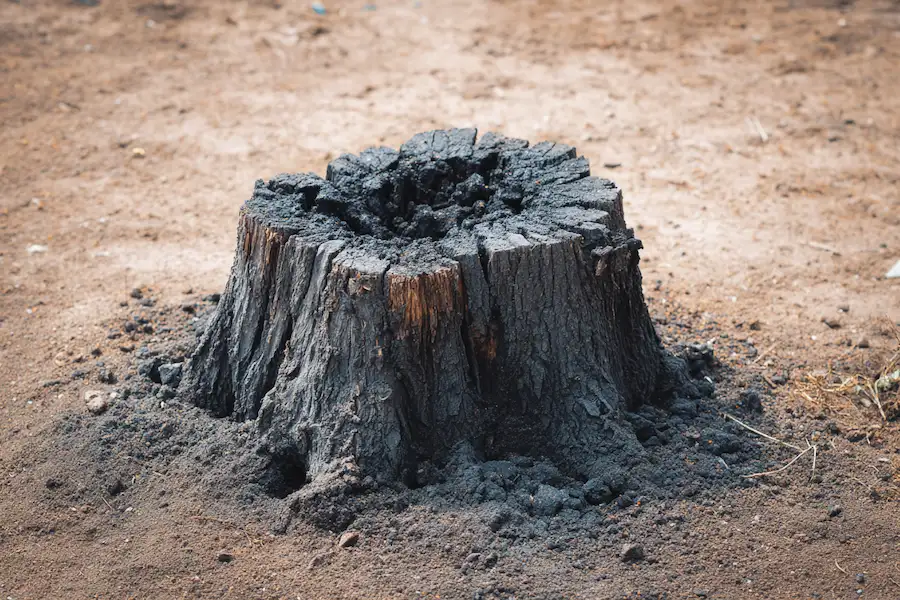
Step 8: Let It Burn Down Completely
Depending on size, the stump may take:
- Several hours
- Or even a full day
You’ll notice:
- The center collapsing
- Wood turning into ash and charcoal
- The stump gradually sinking
Step 9: Cover and Finish
Once the fire is fully extinguished:
- Pour water over the area
- Cover with soil
👉 This helps:
- Cool remaining embers
- Prevent reignition
- Fill the hole left behind
Over time, the remaining roots will naturally decompose.
🌱 Additional Tips for Best Results
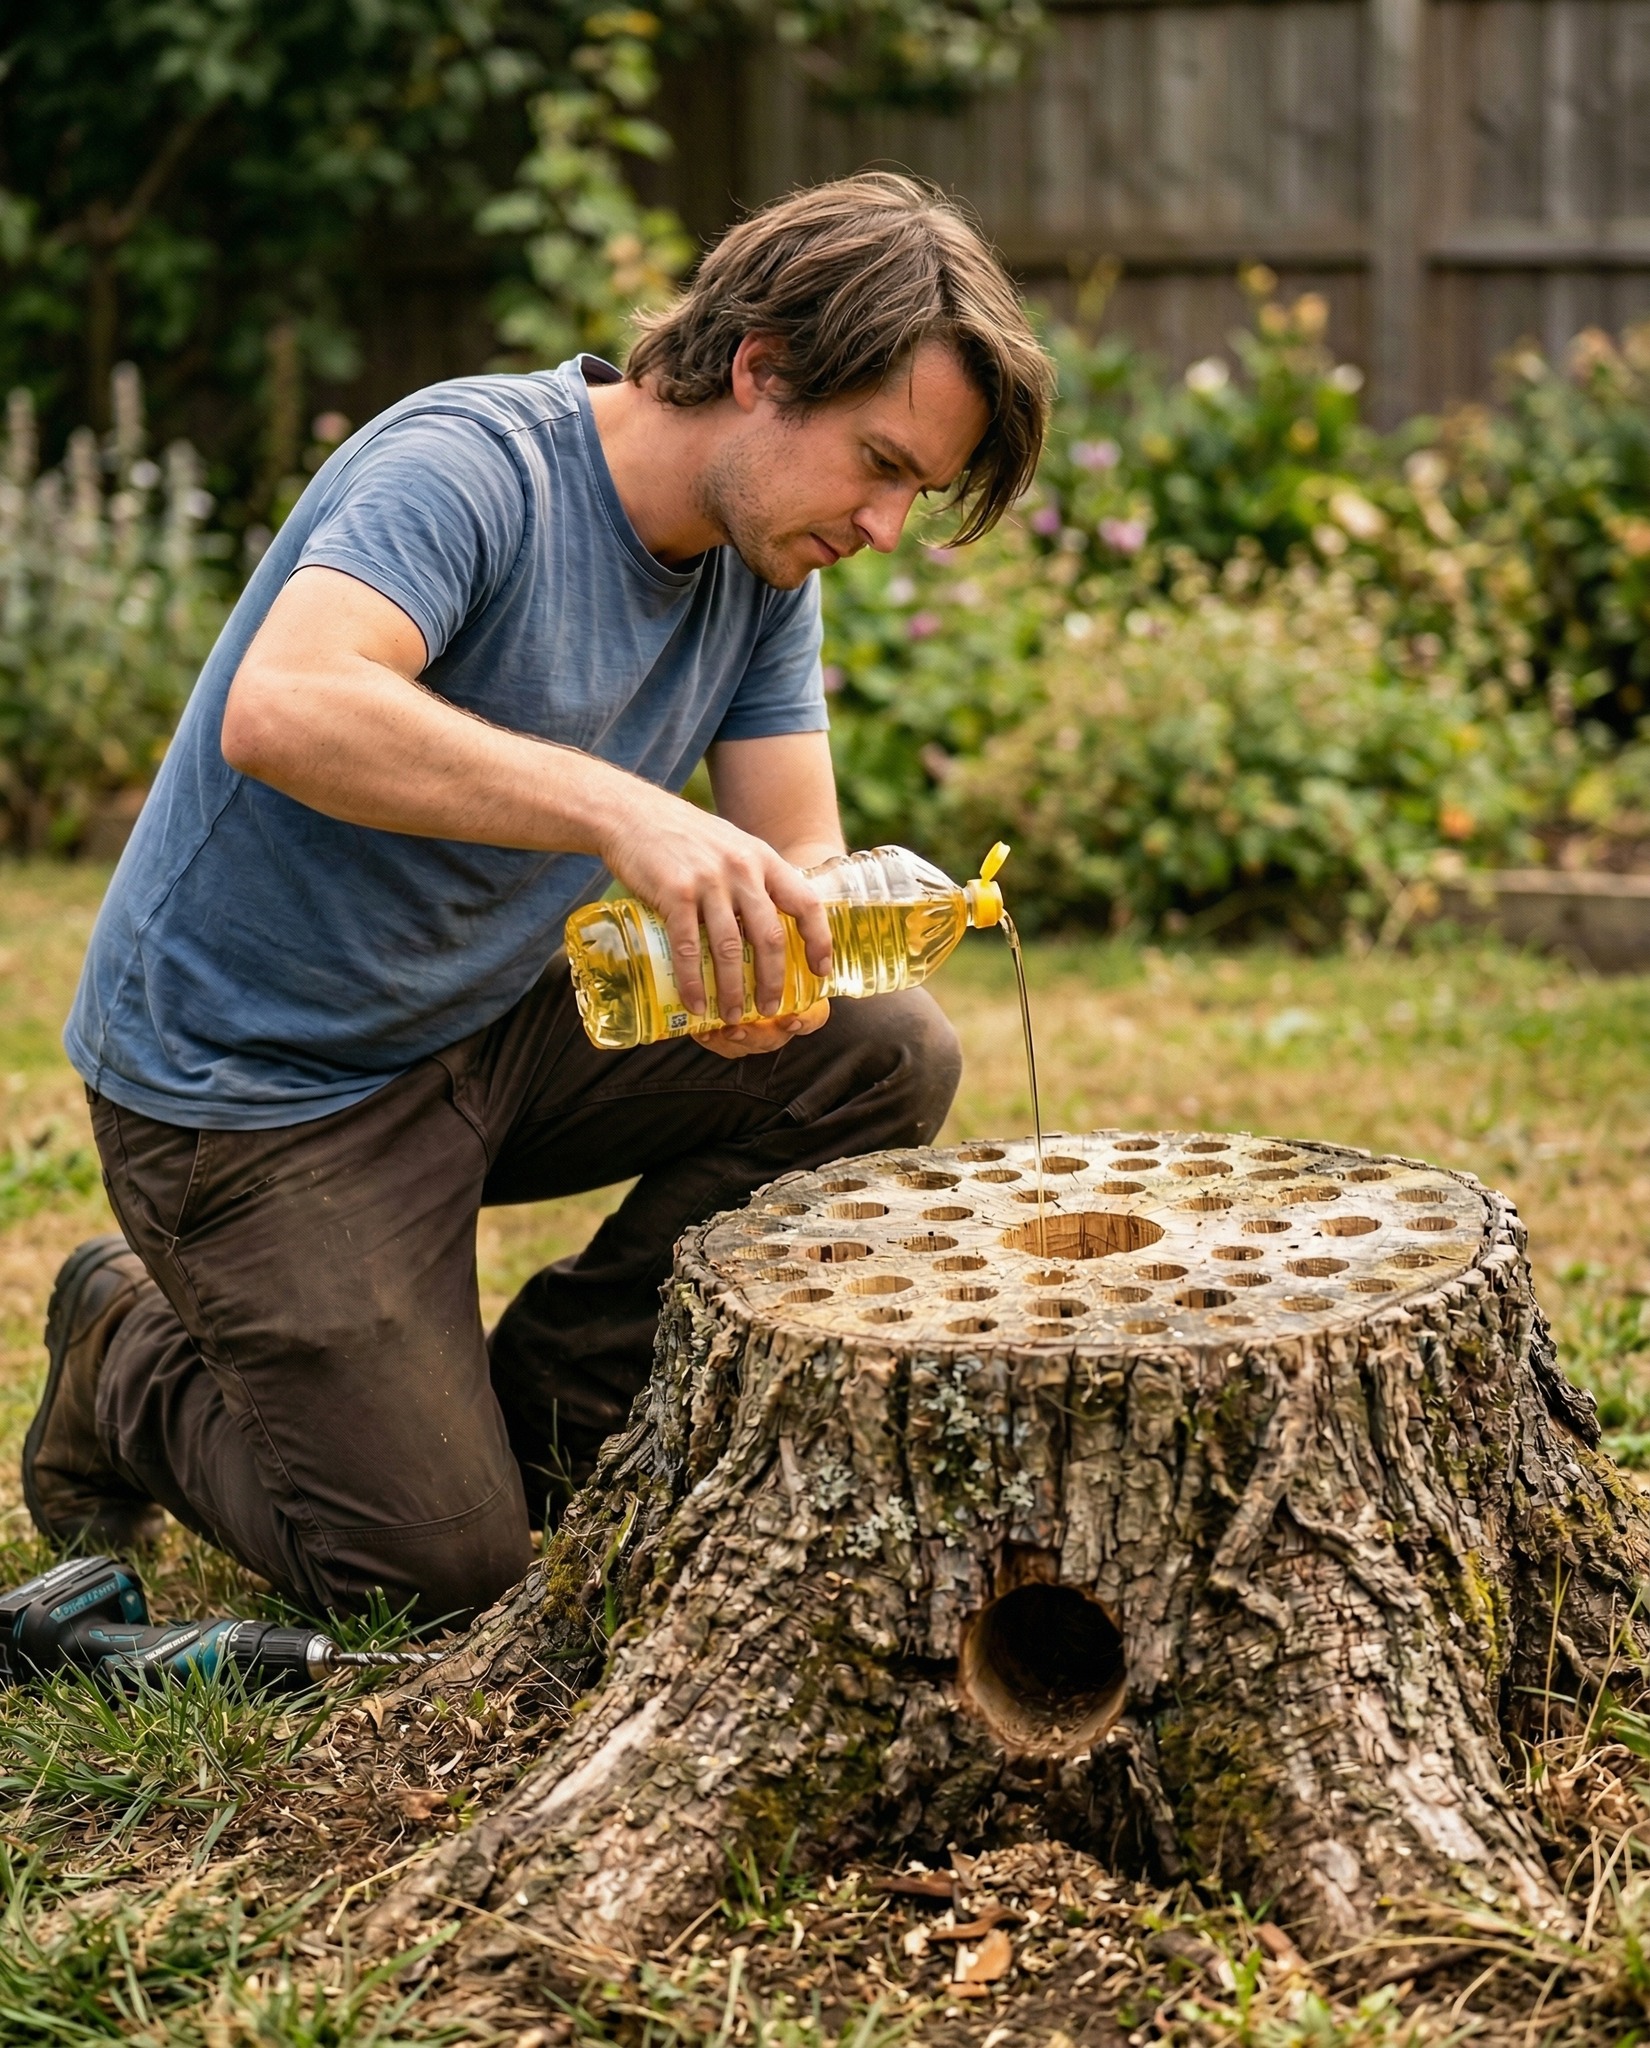
- Use dry stumps — fresh wood is much harder to burn
- Repeat the process if the stump is very large
- Combine with natural decomposition methods (like compost or nitrogen fertilizer)
- Avoid burning near structures or tree roots you want to keep
❌ Common Mistakes to Avoid
- Not creating airflow (fire will die quickly)
- Using wet wood or fresh stumps
- Adding too much accelerant at once
- Leaving the fire unattended
- Burning in windy conditions
The controlled burn method is a practical and cost-effective way to remove a tree stump without heavy machinery.
By combining airflow, fuel, and steady heat, you can break down even stubborn stumps from the inside out — leaving your garden clean and ready for new planting.
With patience and proper safety, this method turns a difficult task into a manageable DIY solution.
Pages: 1 2
