
If you’ve ever made a mistake while sewing, you probably know the frustration of carefully stitching a seam only to realize that something isn’t quite right.
Maybe the fabric was sewn crooked.
Maybe you accidentally stitched two layers together.
Maybe the thread tension was wrong.
Or perhaps you simply changed your mind and need to remove an entire row of stitches.
Your first instinct might be to grab a pair of scissors.
That’s usually not the best idea.
A seam ripper is specifically designed for this job, and once you learn how to use one properly, it can become one of the most useful little tools in your sewing kit.
Despite its name, a seam ripper isn’t meant to destroy your fabric. Used correctly, it allows you to remove unwanted stitches while minimizing the risk of damaging the material underneath.
What Is a Seam Ripper?
A seam ripper is a small handheld sewing tool designed to cut and remove thread.
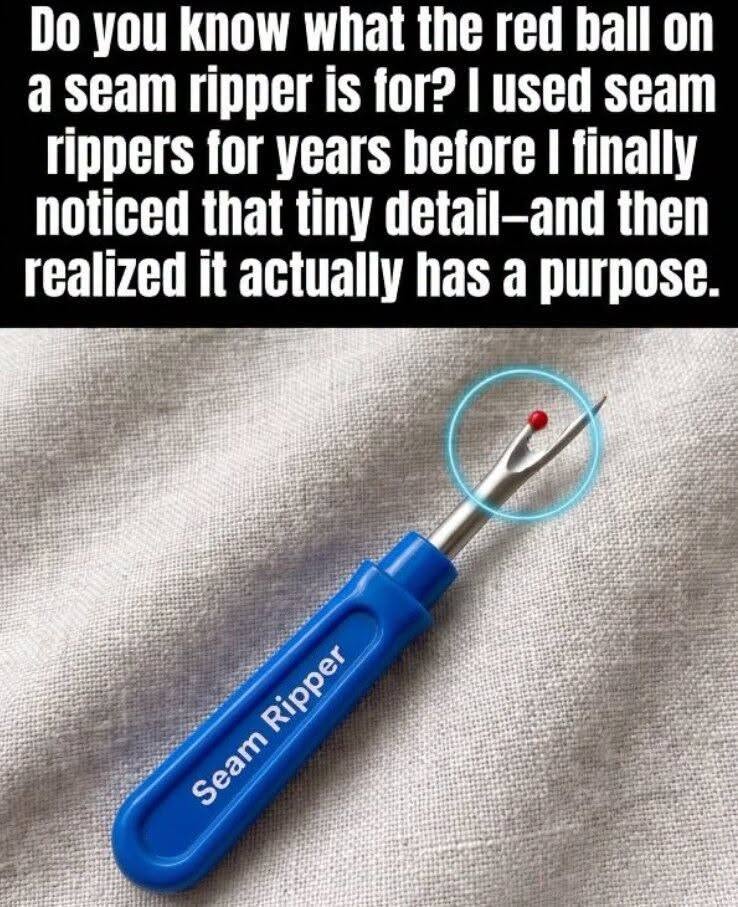
Most traditional seam rippers have a handle with a pointed metal shaft at one end.
The shaft typically has two points separated by a curved section.
One point is sharper and helps you slide underneath a stitch.
The other side usually has a small protective ball or rounded tip.
Between the two points is a sharp cutting edge.
That tiny blade is what cuts the thread.
The design may look simple, but it gives you much more control than ordinary scissors.
Why Not Just Use Scissors?
Scissors are excellent for cutting fabric, but that’s exactly why they can be risky when you’re trying to remove stitches.
A seam ripper is designed to target the thread rather than the fabric.
When you slide the pointed end underneath a stitch, the thread can be positioned against the small cutting edge.
With a controlled motion, the thread is cut without requiring you to place a large pair of scissors close to the fabric.
This makes stitch removal much more precise.
Understanding the Parts of the Tool
Before using a seam ripper, it helps to understand how it’s constructed.
The pointed end allows you to get underneath individual stitches.
The curved section contains the cutting edge.
The small rounded ball helps protect the fabric when the tool is positioned correctly.
Different seam rippers can vary in size and design, but the basic principle is generally the same.
Once you understand where the cutting edge is located, using the tool becomes much easier.
How to Hold a Seam Ripper
Hold the handle comfortably in your dominant hand.
Think of the tool more like a precision instrument than a knife.
You don’t need to apply a lot of pressure.
The sharp blade is designed to do the cutting for you.
Keep your movements slow and controlled, particularly when working with delicate fabric.
If you’re new to using one, practice on a scrap piece of fabric first.
A few minutes of practice can help you understand exactly how much pressure is necessary.
Start With the Stitches You Want to Remove
Don’t immediately start cutting through an entire seam.
First, identify exactly where the mistake begins and ends.
This is particularly important when you’re working on a garment.
You may only need to remove a few stitches rather than the entire seam.
Marking the section mentally—or with a fabric-safe marker if necessary—can help you avoid removing more stitching than needed.
For Complete Cooking STEPS Please Head On Over To Next Page Or Open button (>) and don’t forget to SHARE with your Facebook friends
