
This quick-pickle method requires no complex canning equipment. It is designed for busy kitchens and delivers maximum flavor with minimal effort.
Step 1: Prep the Veggies
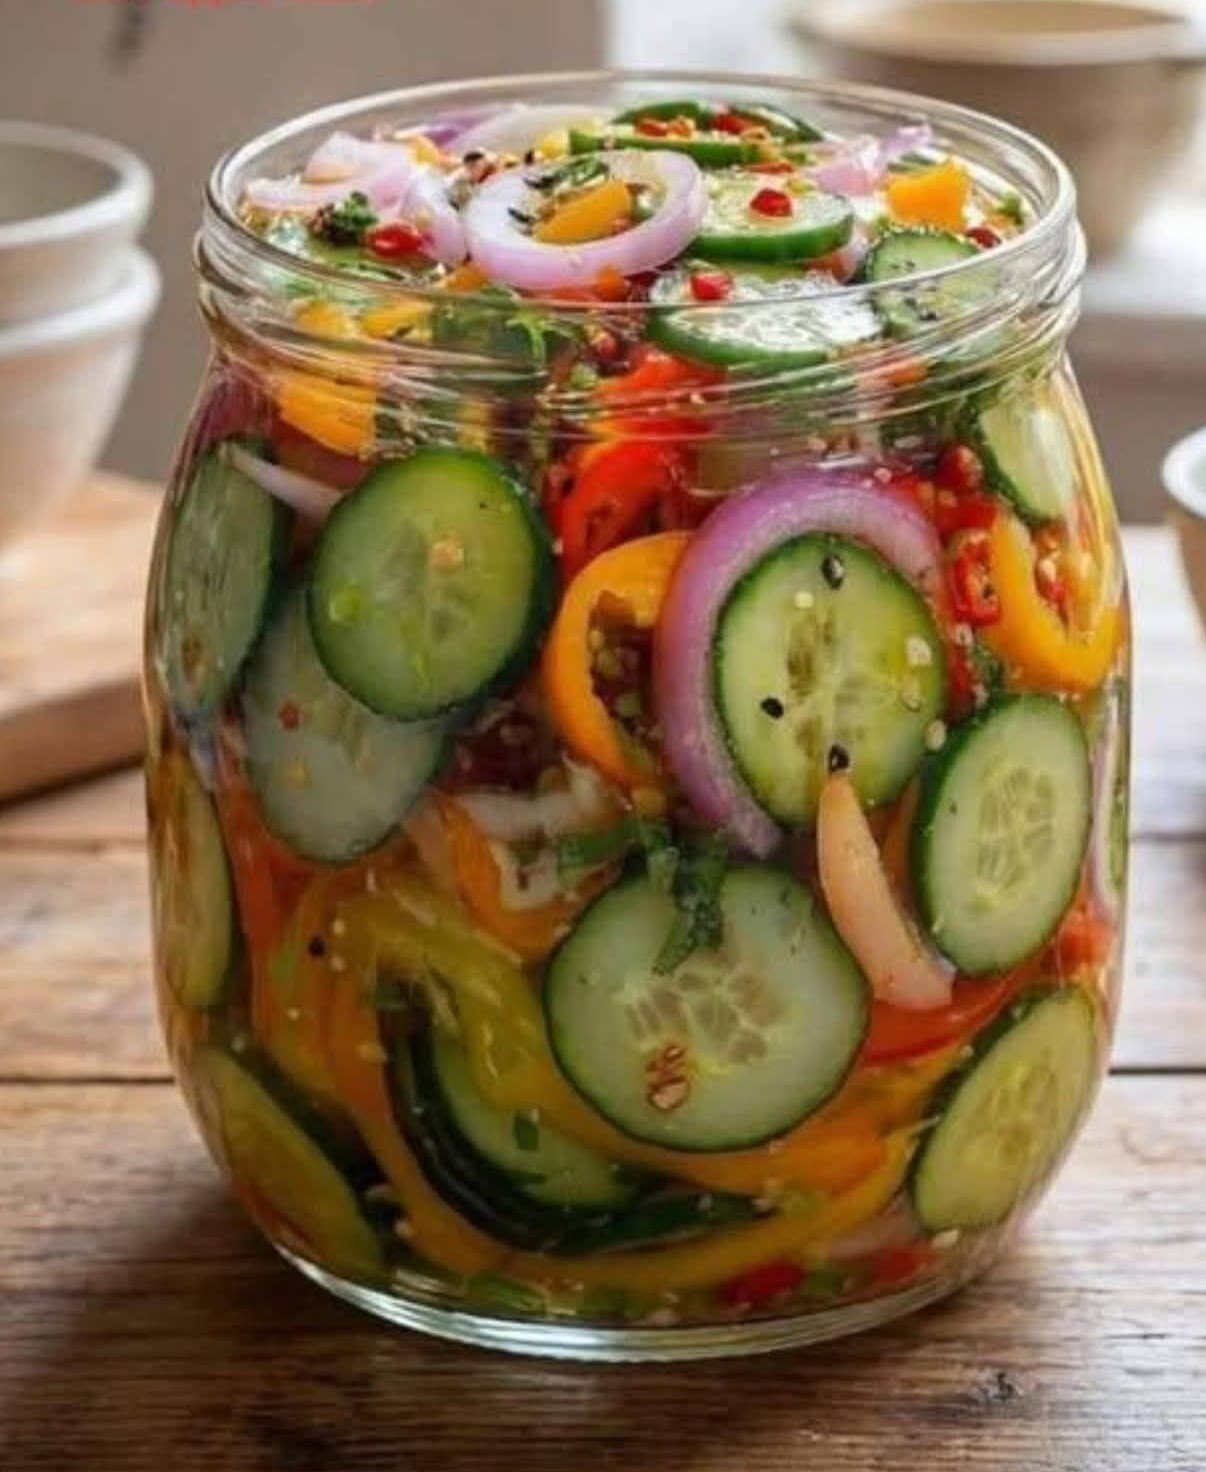
Start by thoroughly washing your cucumbers, bell peppers, and chili if using. Keep the skins on the cucumbers for maximum nutrient density and color, as shown in gfhb456yrfbc56456.jpg. Use a sharp chef’s knife or a mandoline slicer to slice the cucumbers, onions, and bell peppers into thin, uniform pieces. This ensures that every vegetable absorbs the flavorful brine evenly.Salads
Step 2: Layer the Jar
In a large, clean glass jar (a wide-mouth 32-ounce mason jar works perfectly), begin layering your sliced vegetables. Alternate between the green cucumbers, the purple red onions, and the bright orange and yellow bell peppers. Toss in the fresh herbs and sliced chilis as you go. Layering not only looks stunning but helps distribute the flavors throughout the jar.
Step 3: Whisk the Brine
In a small saucepan or a glass measuring cup, combine the apple cider vinegar, water, maple syrup, sea salt, peppercorns, and mustard seeds. If you want a warm brine to soften the veggies slightly, heat it gently on the stove just until the salt and natural sweetener dissolve—do not let it boil, as boiling can diminish some of the beneficial properties of raw ACV. If you prefer your veggies ultra-crisp, simply whisk the brine ingredients cold until completely dissolved.
Step 4: Pour and Submerge
Slowly pour the brine over the layered vegetables in the jar. Use a clean spoon to gently press down on the vegetables, ensuring they are completely submerged in the liquid. If needed, top it off with a splash more water or vinegar.
Step 5: Chill and Marinate
Seal the jar tightly with a lid. Place the salad in the refrigerator to marinate for at least 1 hour before serving. While you can eat it quickly, the flavors deepen significantly after 24 hours in the fridge, transforming into a perfectly tangy, crisp, and refreshing bite.
Recipe Tips and Variations
Keep it Sugar-Free: To keep this recipe completely keto-friendly or to adhere strictly to low-glycemic preferences, you can substitute the maple syrup with a few drops of liquid monk fruit or stevia, or omit the sweetener entirely for a sharper, more traditional pickle flavor.
The Golden Hack: If you decide to add turmeric to your brine for its strong anti-inflammatory properties, always make sure to include the black peppercorns. Black pepper contains piperine, a compound that enhances the absorption of turmeric’s active ingredient, curcumin, by up to 2,000%.
Storage and Shelf Life: Because this is a quick refrigerator pickle and not a heat-processed canning recipe, it must be stored in the fridge. It will remain perfectly crisp and fresh for up to two weeks, making it an excellent component for weekend meal prep.
How to Enjoy This Salad
This versatile side dish complements almost any meal. Because it is naturally high in fiber and contains no heavy oils or refined flours, it feels incredibly light yet satisfying.Salads
As a Bright Side Dish: Serve it alongside grilled proteins, roasted chicken, or baked fish to cut through the richness of the main course.
In Power Bowls: Scoop a generous portion over a high-protein quinoa or grain-free bowl to add instant crunch, acidity, and color.
As a Burger Topping: Pile it high on top of turkey burgers, grass-fed beef burgers, or plant-based patties for a healthy alternative to traditional relish.
Straight from the Jar: Keep a fork handy in the fridge—this makes for an excellent, guilt-free afternoon snack when you are craving something savory and crunchy.
Give this simple, gut-loving recipe a try this week, and bring a burst of anti-inflammatory color into your daily routine!Burgers
